- Local.Repair
- Blog
- How to Troubleshoot and Repair Your Air Conditioner
How to Troubleshoot and Repair Your Air Conditioner
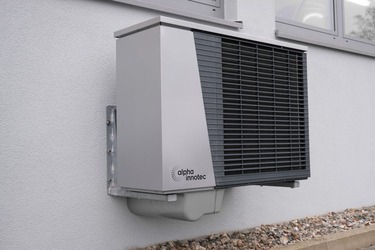
When your air conditioner suddenly stops working or is not functioning as efficiently as it should, troubleshooting and repairing it can save you time and money. Before calling a professional for help, there are several steps you can take to diagnose and fix common issues with your air conditioning unit. In this article, we will discuss ten essential steps to troubleshoot and repair your air conditioner.
Check the Thermostat Settings
One of the first things to check when your air conditioner is not working correctly is the thermostat settings. Make sure that the thermostat is set to cool mode and the temperature is set lower than the current room temperature. Also, check the batteries in the thermostat and replace them if necessary. Sometimes, a simple adjustment to the thermostat settings can solve the problem.
Inspect the Air Filters
Dirty or clogged air filters can restrict airflow and reduce the efficiency of your air conditioner. Inspect the air filters regularly and replace them if they are dirty. Clean filters can make a significant difference in the performance of your unit and can help extend its lifespan. Make sure to follow the manufacturer's recommendations for the type and frequency of filter replacements.
Clean the Outdoor Unit
The outdoor unit of your air conditioner can get clogged with dirt, debris, and leaves, which can obstruct airflow and reduce the efficiency of the unit. Check the outdoor unit regularly and clean it with a garden hose to remove any buildup. Make sure to turn off the power to the unit before cleaning it to avoid any accidents.
Check for Air Leaks
Inspect the ductwork and connections around your air conditioning unit for any signs of air leaks. Air leaks can cause the unit to work harder and reduce its efficiency. Seal any leaks with duct tape or caulking to improve the performance of your air conditioner.
Test the Capacitor
The capacitor is a crucial component of your air conditioner that helps start the compressor and fan motors. If the capacitor is faulty, your air conditioner may not start or cool properly. You can test the capacitor using a multimeter to check for any issues. If the capacitor is defective, it will need to be replaced by a professional.
Inspect the Condenser Coils
Dirty or blocked condenser coils can prevent heat transfer and reduce the efficiency of your air conditioner. Inspect the condenser coils for any dirt, debris, or obstructions and clean them with a soft brush or vacuum cleaner. Regular maintenance of the condenser coils can improve the performance and longevity of your unit.
Clean the Evaporator Coils
The evaporator coils in your air conditioner can also get dirty over time, affecting the unit's cooling capacity. Inspect the evaporator coils and clean them with a soft brush or a commercial coil cleaner. Clean evaporator coils can improve the airflow and cooling efficiency of your air conditioner.
Check the Refrigerant Levels
Low refrigerant levels in your air conditioner can indicate a leak in the system or a faulty component. Inspect the refrigerant lines for any leaks or damage and check the refrigerant levels using a pressure gauge. If the refrigerant levels are low, you may need to call a professional to recharge the system and fix any leaks.
Verify Proper Airflow
Check the airflow coming out of the vents in your home to ensure that it is strong and consistent. Poor airflow can indicate a clogged filter, blocked ductwork, or a faulty fan motor. Inspect the air vents and ducts for any obstructions and clean or repair them as needed to improve airflow and cooling efficiency.
===
By following these ten essential steps to troubleshoot and repair your air conditioner, you can ensure that your unit remains efficient and reliable throughout the year. Regular maintenance and inspections can prevent costly repairs and extend the lifespan of your air conditioner. If you encounter more serious issues or are unsure how to proceed, do not hesitate to contact a professional HVAC technician for assistance.
